My children's birthday was last week. One of them is a huge Hunter Hayes fan and for her birthday she had asked for tickets to his concert in Dallas, so that's what she got. Well, in keeping with that theme, I decided to make a customized shirt for her. I settled on a pocket tee with a custom pocket.
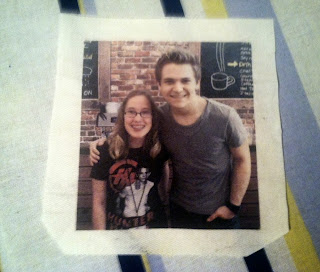
I chose a picture of her with Hunter Hayes from a concert that she had been to earlier in the year where she also purchased the 'coffee house experience' so that she could meet him.
I ironed freezer paper to a piece of off white fabric and then cut the fabric to match the size of the paper. (Be sure to iron it with the wax side to your fabric.) Then, I just ran that through our ink jet printer.
(I messed it up on the first go round--I put it in with a seamed side starting off which was too thick--so I got a little extra ink on the other end.)
After I printed my picture on there it occurred to me that I might should have done something special to the fabric. I got online and found some information saying that I should have treated the fabric with something before printing and then follow that up with a separate treatment after printing or the whole thing would wash off with water. I was in a panic!!! Then, I remembered that I had a Tide To Go pen in my desk drawer (I printed it at the office) so I tried that. First I tried to rub off the part where I had messed up and nothing happened. Then I tried a corner of the picture and, as you can see, it didn't even smear. What a relief!!
So I cut out my pocket leaving plenty of room around the edge of my picture.
Then, I hemmed it across the top of the pocket, folded the edges under, and attached it to the t-shirt.
So there you have it! It was quick and easy.
But best of all.........she loved it!!!